If you're experiencing issues with the upper flywheel on your Harvey Ambassador C14 or Alpha HW615 bandsaw—such as the wheel rubbing against the chassis, refusing to tilt, won't track blade correctly, or binds during tensioning—this guide will walk you through how to reset it to its default working position.
These steps apply to both the Ambassador C14 and Alpha HW615 bandsaws, as they share a similar upper wheel and tilt system.
⚠️ Symptoms You Might See
Upper wheel doesn’t spin freely
Loud grinding or rubbing sounds
You’re unable to tension or track the blade properly
The wheel appears misaligned or tilted inward toward the frame
Tools Needed
Allen/hex wrench (for removing blade guard, etc)
Wrenches (for pivot bolts, if needed)
⚠️ Important Safety Warning
Always unplug the machine from power before performing any service or adjustment.
Do not attempt this procedure while the bandsaw is plugged in or powered on. The upper wheel, blade, and tracking components can move unexpectedly, posing a serious risk of injury.
Wear gloves when handling the blade, and ensure the machine has come to a complete stop before touching any internal components.
Reset Procedure
1. Remove the Blade
Start by taking off the blade entirely. Also, remove the upper blade guard to give full access to the wheel area.
2. Loosen the Tracking Knob
Back out the tracking knob completely:
Loosen the jam nut (the aluminum disc/ring).
Back out/Unscrew the tracking knob until it’s fully disengaged—or remove it entirely if needed.
This relieves tracking pressure and prepares the flywheel to be manually repositioned.
3. Reset the Tilt Position
If the flywheel is tilted and rubbing the chassis, reset its angle:
If the bottom half of the wheel is tilted inward, pull it outward until it re-centers.
If the top half is tilted inward, push the bottom inward to restore alignment.
This assembly pivots on a central axis—if stuck, continue to step 4.
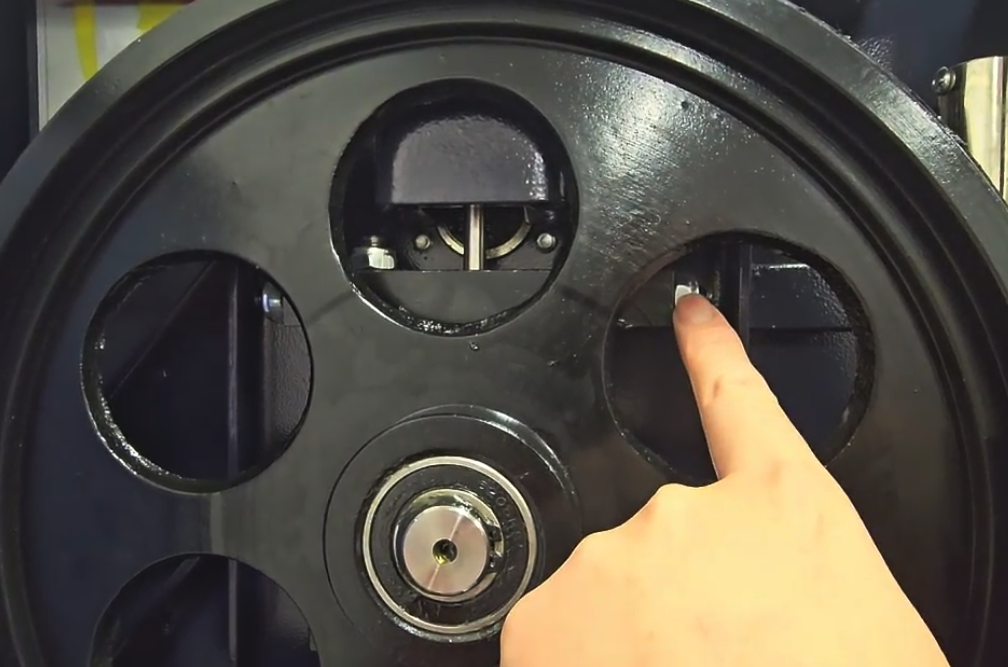
4. Loosen the Pivot Bolts (If Stuck)
Look for the two nylon lock nuts that secure the flywheel's pivot block to the frame (on both sides of the upper assembly). Loosen them just very slightly—this will relieve pressure and allow the flywheel block to shift or pivot freely.
Important: Don’t over-loosen these nuts. Doing so can introduce play (slop) in the flywheel alignment and affect long-term performance.
5. Confirm Free Movement
If the wheel was binding, once reset, the wheel should be able to rotate freely. The wheel can also move up and down freely on its vertical guide rods (without a blade installed). Gently lift/rotate the wheel by hand to check its range and confirm that the wheel is no longer contacting the chassis frame.
Be cautious with the tensioning indicator (needle): going too high or too low can cause the tensioning needle to fall off the tensioner block assembly inside the upper housing. If that happens, you’ll need to:
Raise the wheel fully
Manually hook the needle back onto the tension plate inside the block
Lower the wheel carefully to re-engage the mechanism
Ask us for the "Tensioning Needle Reset" video if needed.
6. Reattach the Blade
Re-install the blade, then re-tension it.
7. Reinstall and Adjust Tracking
With the blade installed and tensioned:
Reinstall the tracking knob
Make small, gradual adjustments while manually spinning the upper wheel by hand
Watch how the blade responds on the flywheel and adjust as needed until the blade centers properly
Additional Tips
If your tensioning knob becomes stuck, it may be due to a jammed nut/disk being stuck. If you have difficulties loosening the nut, then try using a pair of adjustable pliers. If needed, use a towel to protect the nut from being marred by the wrench.
Avoid forcing adjustments. If anything feels bound, stop and check alignment, screws, or call us for guidance.
✅ Success Check
Flywheel spins freely
No rubbing or grinding
Blade is centered and tracks smoothly
Tensioning system is responsive and stable
Need More Help?
Here is a video for reference:
Was this article helpful?
That’s Great!
Thank you for your feedback
Sorry! We couldn't be helpful
Thank you for your feedback
Feedback sent
We appreciate your effort and will try to fix the article